Thursday, September 28, 2023

Black and White with focal point

 Black and White with focal point

3 edited photos. Post the before and after images

Using photoshop . Tools

Layer adjustment- Black and White. Eraser.

Export as jpeg


3 edits in Lightroom


Post the before and after images to your blog.

Describe what process you used for each photo


Monday, September 18, 2023

Sepia Photoshop Tutorial

   Choose your image and open in Photoshop


1- Hue/Saturation

Hue/Saturation adjustment layer and lowered the saturation all the way down to -65:


2- Curves


Curves adjustment layer with a slight S-curve to increase contrast by a little bit, while also tapering off blacks and whites a little.


3- Solid Color Adjustment


  • Add a solid color adjustment layer.
  • Choose a taupe color that works well for what you’re trying to achieve. Here I picked R: 208, G: 184, B: 141.
  • Change the blend mode of the adjustment layer to Color. This will keep only the color from that layer, while the luminance is provided by the layers underneath it.
  • Next the opacity level of that layer for the desired effect. Here 60% worked.
Sepia Photoshop tutorial- After


Sepia Photoshop Tutorial- Before


                                               Sepia Photoshop - Before


                               Sepia Photoshop - After


                                           Sepia Photoshop- Before


                                Sepia Photoshop - After


Photoshop tools


https://gra617.expressions.syr.edu/wp-content/uploads/2012/07/PhotoshopTools.pdf


Weekly Photography Challenge - Principles of Design


Take one photo of each of the  Principles of Design(Your own). 

1. Label photos  2.Post to your blog


1. Balance

2. Unity

3. Variety

4. Emphasis

5. Movement

6. Pattern

7. Proportion


Thursday, September 14, 2023

5 Terms - Vocabulary


5 Terms - Vocabulary

Find the definition and also include  an image. 

1. Histogram

2. Focal Length

3. Metadata

4. Megabyte

5.Gigabyte

Tuesday, September 12, 2023

Photoshop - Talbot

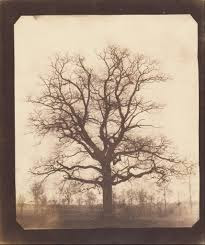
   Choose an image from our Artist of the Week

Henry Fox Talbot

Open in Photoshop

Use Layer adjustment- Invert. 

Use Layer - Merge . 

Using marquee and move tools Combine both images onto one canvas. Choose a color.

Export as a JPEG

Post to your blog. Post the final canvas and original image you used to make the final project


William Henry Fox Talbot (British - An Oak Tree in Winter )


     Dandelion seeds (1858 or later)

Artist of the Week- William Henry Fox Talbot


                                                                 William Henry Fox Talbot, by John Moffat, 1864.


View of the Boulevards of Paris

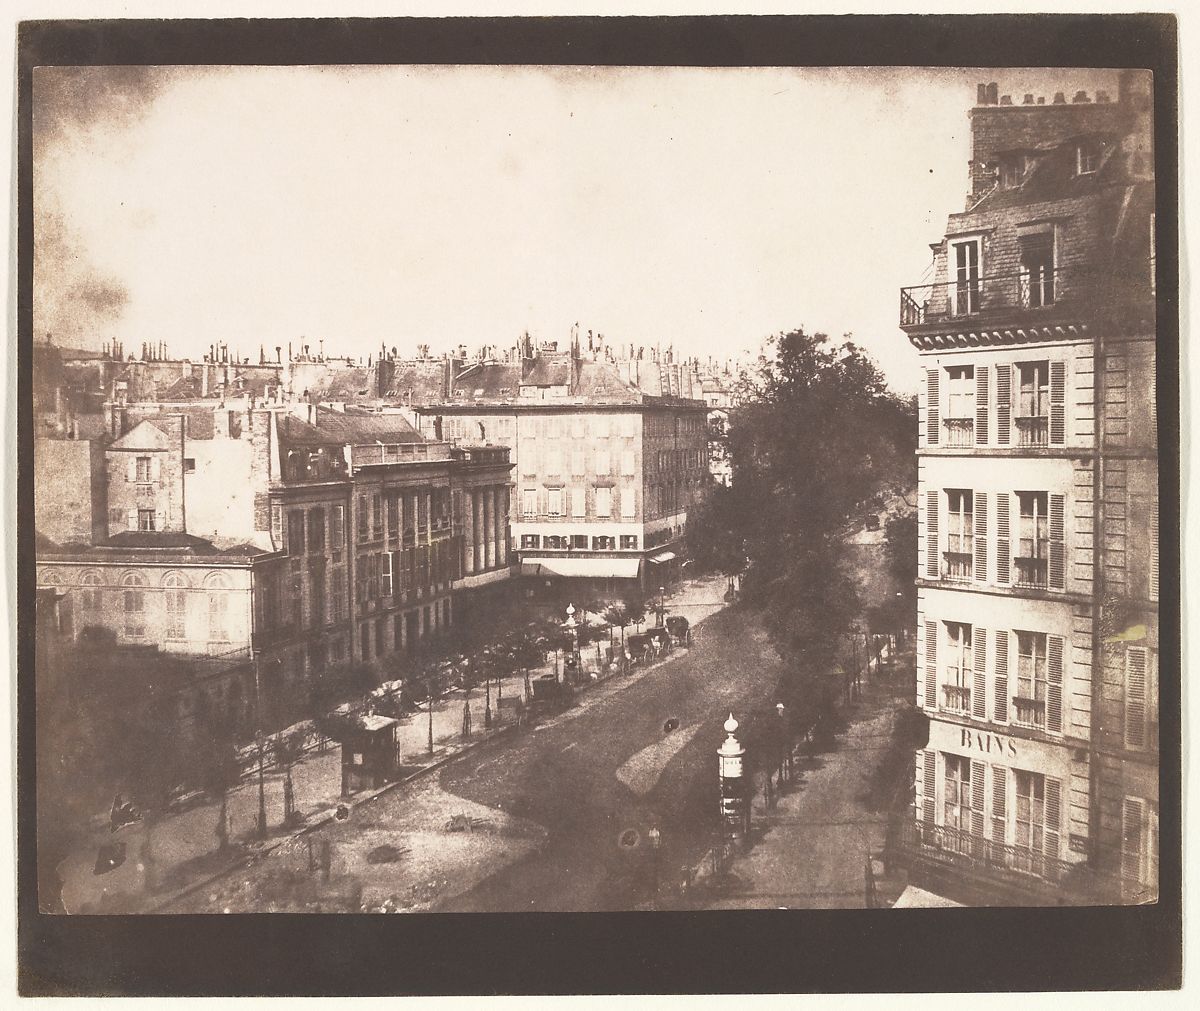
William Henry Fox Talbot British


                                                               The photographic workshop in Reading, 1846


William Henry Fox Talbot (British - An Oak Tree in Winter )


                                           Photomicrograph of insect wings by Talbot using a solar microscope


                                                                    Dandelion seeds (1858 or later)


     Latticed window at Lacock Abbey, August 1835. A positive from what may be the oldest existing camera negative.


Exhibition Credits

Support for the exhibition is generously provided by the William Talbott Hillman Foundation.


https://cmoa.org/exhibition/talbot/


The Fruit Sellers was taken in September 1845 at Lacock Abbey in Wiltshire and the shot required the sitters to hold a pose for up to 10 seconds


Half Moon


William Henry Fox TALBOT - Asparagus Foliage, early 1840s


BODLEIAN LIBRARIES, UNIVERSITY OF OXFORD
image captionThe collection includes images of botany like this Three Botanical Specimens taken in about 1840


Choose top 2 images  .
 Post to your blog.

Answer the following questions

 1. How’s the composition?

              2. What do you find interesting  about his work?

                  3. How is the technical quality 
        

Clone Stamp

   After  - clone stamp                                                                                  Before Instructions How to use the ...